Tuesday, December 31, 2013

Cannoli

I have been wanting to make cannoli's since an Aunt left me her cannoli tubes and they are metal which is even better. When a friend of mine made them this summer and I saw that it was not as time comsuming as I thought, I then dove in and made them.  They are easy and the shells can stay for a few weeks in a closed container.

I even made my own ricotta cheese, although this time with the chaos of Christmas, I went the easy route and bought really good ricotta.

You will need a thermometer for the oil, 9 cm round rings to cut the dough and the metal tubes for the dough. 


You will need, 9 cm rings to cut the dough


Also, metal tubes for the dough


Dough Recipe:

250 g all purpose flour
5 g      cacao powder
1 tsp   Italian coffee, fine ground
30 ml  Marsala wine
30 g    confectioner sugar (powder sugar)
1 tsp   salt
1 large egg (50g) 
50 g    crisco (lard)
1 tsp   cinnamon
30 ml  white wine
Peanut oil is best, you can use vegetable oil if you wish

Candy thermometer

You will also need metal molds for the shells and a 9 cm round to cut the dough

Method:

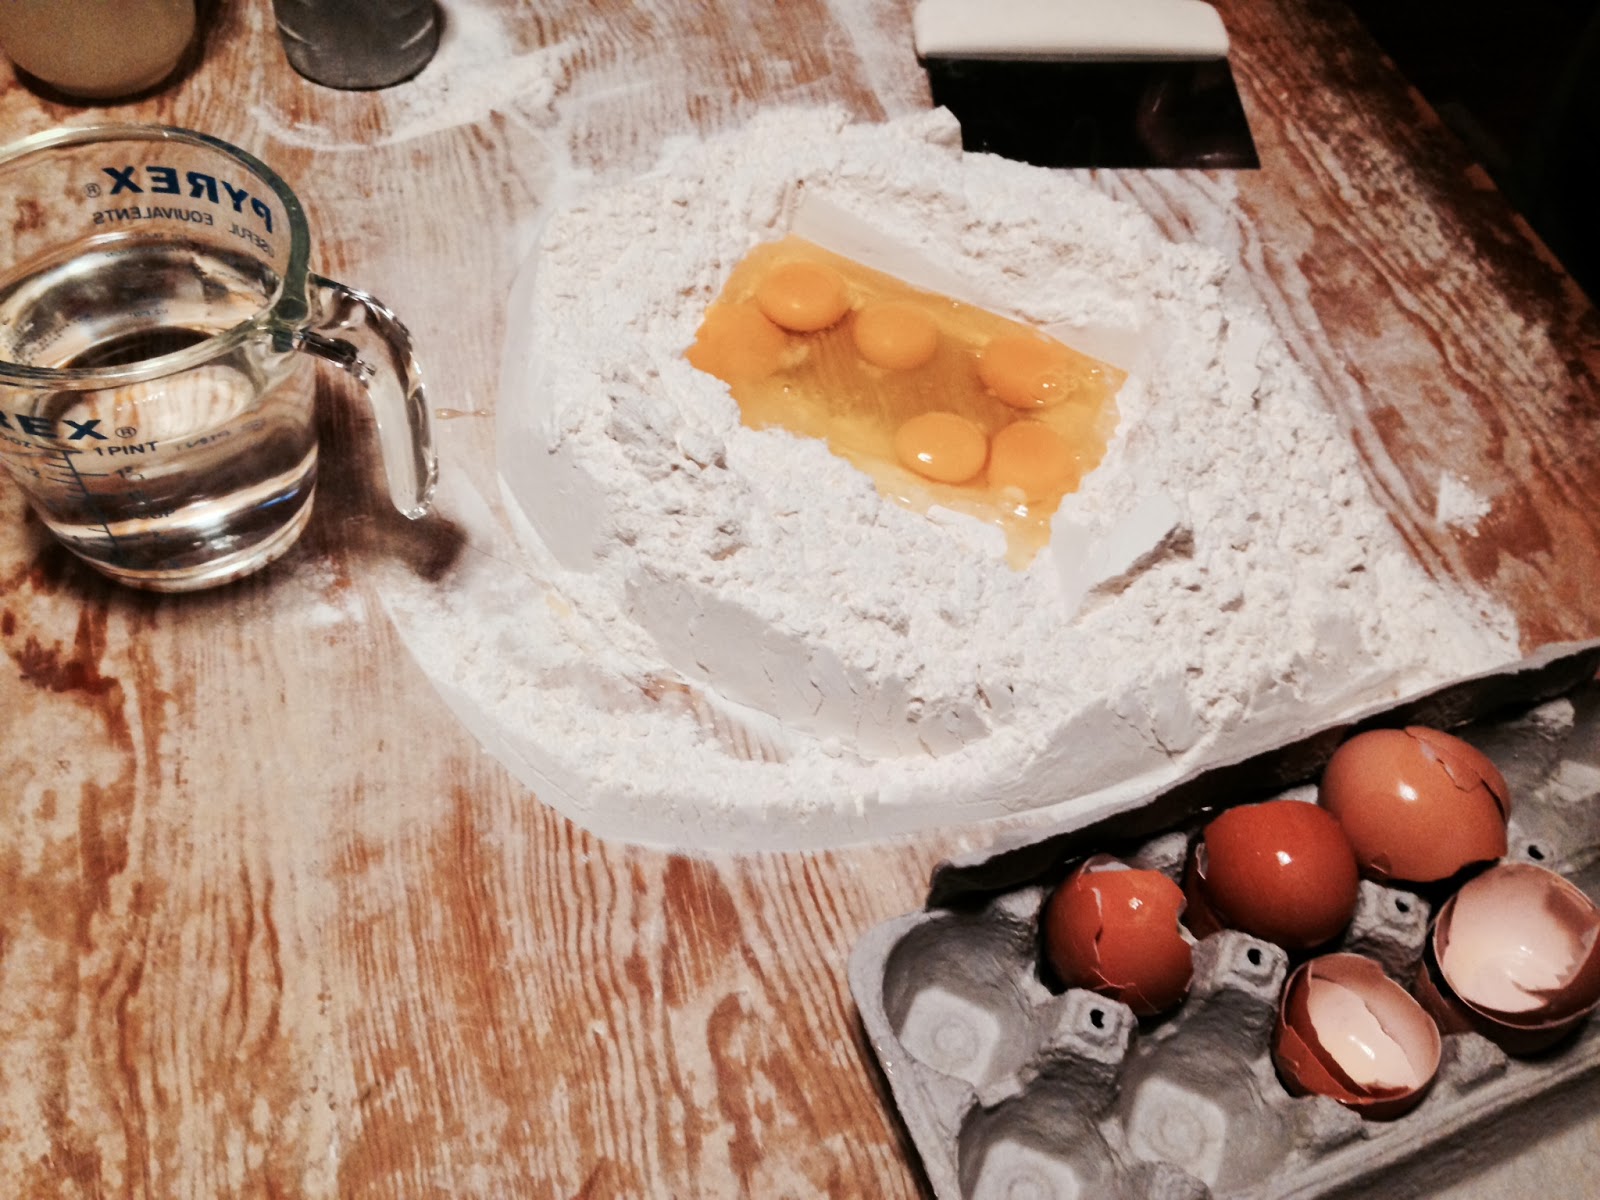
Mix the flour, cacao powder, Italian coffee, Marsala wine, salt, crisco, cinnamon, white wine and egg.  Mix until it forms a soft ball, I did this by hand it was fast and easy.  Once the dough is formed, wrap in plastic wrap and place into the refrigerator for an hour or overnight.

Once the dough has rested, remove from the refrigerator and cut a piece off and roll it out, you can do this with a pasta machine.

Cut the dough into 9 cm rounds and wrap around the mold securing with an egg wash.  Once you have these done you are ready to fry them. 


In a heavy bottom pan or you could use a fryer if you have one, fill halfway with the oil and heat the oil, once the temperature reaches 170-180 C, you are ready to go.  Put two in at a time.. this will only take a few minutes, move them with tongs and once they have color remove and let cool completely before removing the shells.


You can store the shells in a container for a few weeks if you wish.

To make the filling:

750 g Ricotta cheese
300g Confectioner sugar

Mix this well and place into a pipping bag and then the refrigerator till you are ready to fill the shells.

It's best to fill these just before you serve them…  Thanks Joanne for your help.


Monday, December 16, 2013

Pizzelle

Getting ready for Christmas and one of the jobs that I like to do first is to get the Pizzelles done.  Yes they are a little labor intensive, but it is a labor of love and so important to have these.  As a friend suggested to me " Keeping the Traditions Going", she is so correct.

My Mom often made batches of these and not just for Christmas, Easter and other events.  She loved making them and when my nieces were young, she would make them and form them into bowls so that they could put ice cream in them.  Oh and I should say that she would hide the pizzelle  from us so that we would not eat them before Christmas…Sometimes we did find the hiding spots. Will post recipe soon, getting ready to make Cannoli shells.


Wednesday, December 11, 2013

Getting ready for Christmas - "Keeping the Traditions Going"

It's just a few weeks before Christmas and a very busy time of the year!  Last evening my brother (Joe), sister-in-law (Lorraine) and myself carried on the tradition on making the Raviolis for Christmas.  This is something that my Mom did and I so enjoyed watching and helping her, now that she is not here, we have been making the Raviolis every year since her death..to carry the tradition for the next generation.

I will be posting more as we get closer to Christmas, making the Pizzelles, Canolis, Bread etc.

However, last evening at my brothers house we made the Raviolis, and it was snowing which made it feel more like Christmas. Joe's job is to mix the dough, Lorraine makes the filling and assembles the Raviolis, my job is to roll out the dough, this  takes us about a little over an hour and we made about 120 Raviolis, plenty for Chistmas and some left over for the freezer to be used at another time.  Oh and of course when done we had to cook a few to do a taste test.

In the beginning!!! 

The flour goes on the table, then the eggs…..
The dough is then combined till all is mixed well together, then it is left to rest under a bowl for about 20 minutes or so
While the dough is resting we get the trays ready, putting a little cornmeal on the trays so that the Raviolis don't stick.
Now we roll out the dough and begin to fill the Raviolis.  
Here they are in the tray ready for the freezer.
We fill several trays, then put them into the freezer!
There they are all lined up.  Once they are frozen they will be placed into heavy zip lock bags till ready to be used.
They look so happy!
Then we sat by the tree and had a Martini to toast our parents and tell stories………
And now the finale….
Yes the Martini was cold and so yummy


Another successful Ravioli making tradition…….Stay tuned for more Christmas traditions

Friday, December 6, 2013

Sushi

I love sushi and have it often, and also have my favorite sushi place, I am lucky to have one of the best Sushi  places within walking distance of my house.

 This week I had an awful cold and could only think of sushi, so, today when I woke up it  was the only thing on my mind, and it was a dreary day outside, warm for this time of the year.

Off I went…..


So, had a wonderful lunch.  I usually get an order of sushi pizza, but decided to change and get something different.

So, I ordered spicy tuna on crunchy rice

Then I got a spicy tuna roll, sea urchin (uni), which I love, blue fin tuna, it was so yummy!!!
I did have a hot sake, medicinal purposes and then my fortune cookie…..


Such a great fortune cookie….great lunch, sorry I didn't get my usual "sushi pizza"….just have to go back before the holidays.

Saturday, November 30, 2013

Chicken Mince in Rice Paper

Chicken in Rice Paper


This is a really wonderful dish, easy to make and tasty also, one of my favorite dishes.  I can't remember where I found it, but it is a keeper.  Actually easy to do and a real crowd pleaser.
I love Vietnamese food and the rice paper, so many things to be done with it and great for parties.
Don't be afraid of the fish sauce, it actually makes this dish, just don't put too much.

INGREDIENTS:

Chicken

400g  - mince (ground) chicken
2 cloves garlic, minced
2 tablespoons oyster sauce 
1/2 tablespoon sesame oil
fresh cilantro leaves about 1/2 cup or so
sesame seeds - to your taste a teaspoon or so
70g /about 1 cup breadcumbs
Rice paper sheets, 12 or so (depends on how large you make the logs)
12 mint leaves 
peanut oil
romain lettuce leaves

Sauce

80 ml  cup water
2 tablespoons fish sauce
110 g / 1/2 cup sugar
red chilies
limes juice about 2 tablespoons, nice if you can find kaffir lime leaves


Make the sauce:

Put the water, fish sauce and chili in a small pan over low heat and cook till the sugar is dissolved.  Bring  to a boil for a few minutes till thickened.  Remove from heat, add the lime juice and let sit in fridge until ready to use.

Prepare the Chicken:

Combine the chicken, garlic, oyster sauce, sesame oil, sesame seeds, cilantro and breadcrumbs.  Mix well, wrap and place into the fridge so that the mixture can become firm.

Divide the mixture into thin logs.

Take the rice paper and individually soak in warm water for about 15 seconds or until soft.  Lay the rice paper down an place the log on top place a mint leaf and begin to roll, roll both ends.  Place onto a plate till you finish the process.

Heat a non stick heavy pan and add a little peanut oil and begin to cook the rolls till the chicken is cooked inside, about 8 minutes or more.  The temperature of the chicken when cooked should be 70C (160F).  

While the chicken is cooking place the romain leaves on a plate.  When the chicken is done, place onto the romain lettuce and sprinkle with some baby greens, I used baby basil leaves. Place the chicken rolls on top of the lettuce and then add the sauce.


Artichokes----stuffed

Artichokes, I love them and have them often, I love the small ones, that I grill and also sauté them with olives, red pepper etc.  Here are my stuffed Artichokes, this is my Dad's recipe, amounts are kind of funny because he never really measured anything.


Got some really beautiful ones, test them, they should be firm, a little expensive but that is the way it is this time of the year, but well worth it.

So for the recipe:

8 large artichokes ( you can use less or more)
1 tin flat anchovies, remove the anchovies and mince them, SAVE the oil that is in the tin
Parsley, about a handful
breadcrumbs, I used 1 can
grated parmigiano or romano cheese, whichever you prefer, I use parmigiano
olive oil to drizzle on the top
freshly grated black pepper to taste, I don't use salt because of the anchovies and the cheese
Sopressata, this is an Italian dried salami, I use about a cup of sopressata cut into small cubes, more if you wish
Mix the above ingredients together 
4 cloves of garlic
3 bay leaves

Peel off some of the outer leaves and cut the stem off the bottom (save the stem), cut a little 
off the top.  Then spread the artichokes and fill them with the stuffing.

Put them into a heavy bottom pan, and once filled, add water to go halfway up the artichokes, put the garlic cloves  into the bottom of the pan along with the bay leaves.


Once that is done, drizzle the oil from the anchovies, and then a little extra virgin olive oil over the tops of the artichokes, put the cover onto the pan and bring to a boil, once to a boil, bring to a simmer and the artichokes are done when a knife inserted in the artichoke goes in smooth, about 40 min.  Do check to make sure the water does not evaporate, if you need to add more water, make sure that it is boiling.
And here they are, bet you can't eat ONE!!!!  Let me know how you make out...

Monday, November 18, 2013

Chicken Breast Supreme

What a beautiful November day, temperature 19 C, sunny and not a cloud in the sky…hope they stay like this for a while.  I'll take this great weather as long as it keeps coming.

Chickens were on sale and so I bought one, I only buy organic chickens, so brought it home and separated all the parts, packaged it up in pieces and stored it in the freezer for future use.  

I love the chickens from Whole Foods Market, maybe they cost a little more, but organic is the only way to go, with all the bad stuff they are putting in foods today.

Breaking apart the chicken, I saved the chicken breast and marinated in lemon, olive oil, laurel (bay leave), garlic and some black pepper.  

Actually this breast could be two servings.  Anyway, I marinated it for about 3 hours.  No real recipe today, add the flavors to your taste.

While the chicken was marinating, I cooked some wonderful Italian (lacinato) kale, it is sometimes called black kale.  It is really delicious.

This is very simple to cook, and all I do, is wash it, blanch it in boiling salted water, drain and cook in a sauté pan with olive oil, garlic, himalayan pink salt ( it is an awesome salt), and it's better for you than regular salt.

Cooking the chicken breast:
Turned the oven on to temperature 200C and let it come to temperature before pan searing the chicken breast.
Once the oven was up to temperature, I pan seared the chicken breast skin side down and a lightly oiled sauté pan, after 5 minutes when the chicken was browned, I turned it over and put it into the oven for about 35-40 minutes until the temperature of the chicken reached 71 C / 160F.  Let the chicken rest for 15 minutes covered.

Place the kale on a plate then the chicken and drizzle some really nice extra virgin olive oil on top of the chicken and enjoy.

This was just a really simple dinner that is very easy to make and really yummy also.